
The property photo studio · Tutorials
A better photo.
A few clear steps.
Watch the recorded lessons or follow the written guides for the latest controls.
Open the illustrated quick guide ↗Explore the lessonsNew tools · Written guides
Your next edit.
Step by step.
These guides cover the latest controls. The recorded lessons below may show earlier screens.
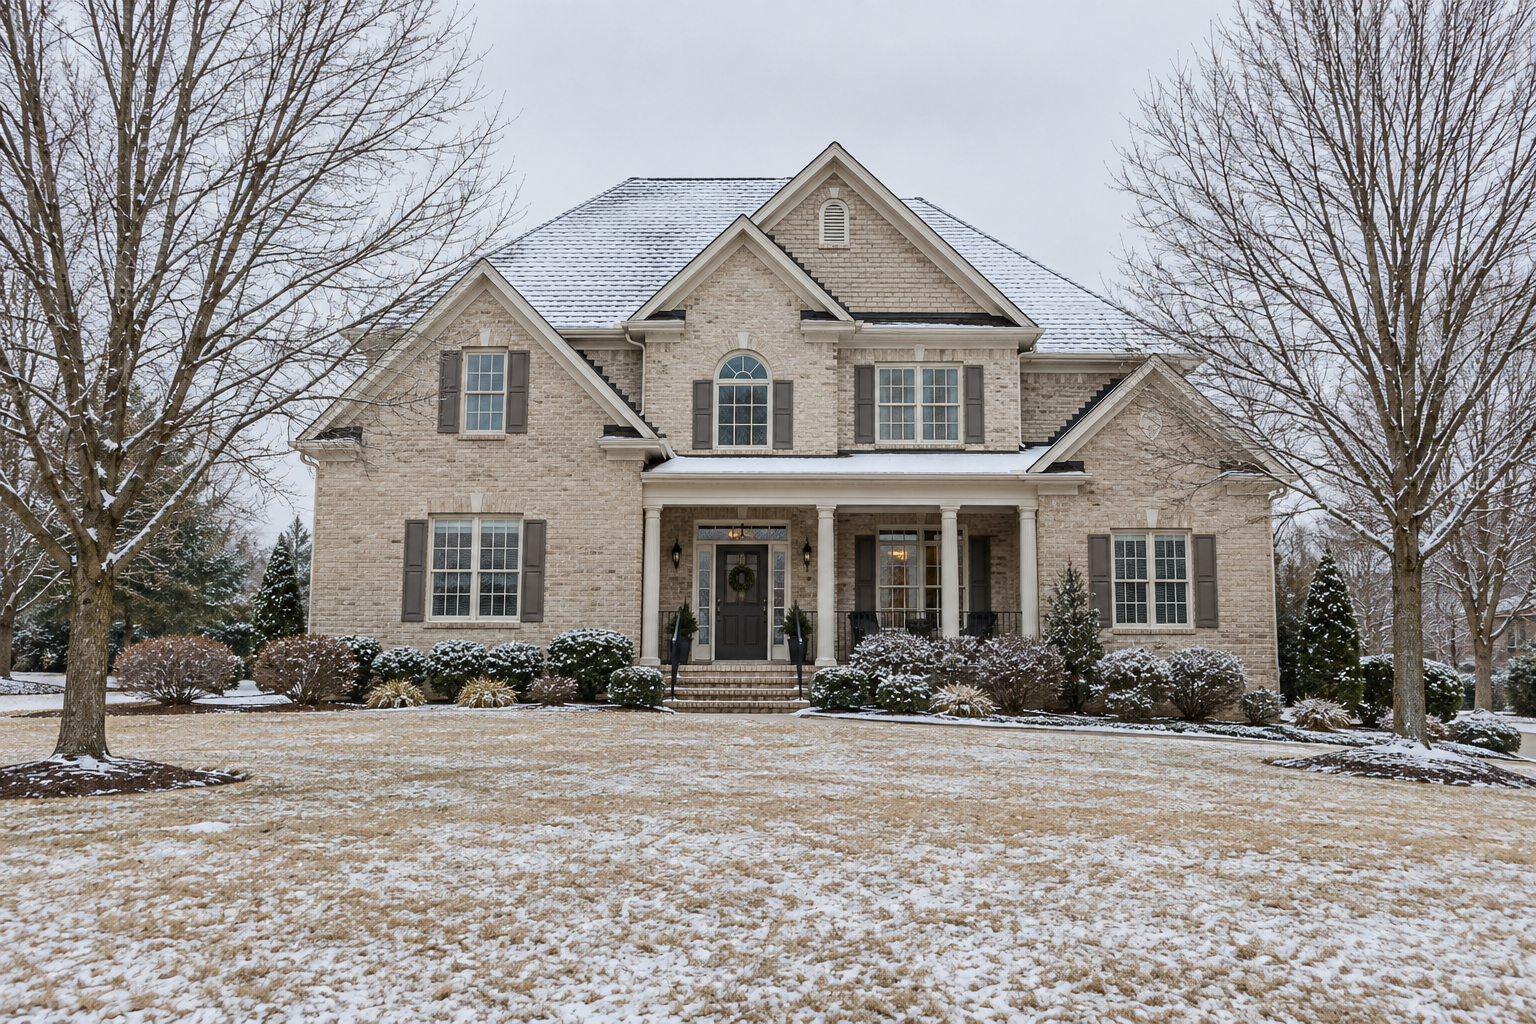
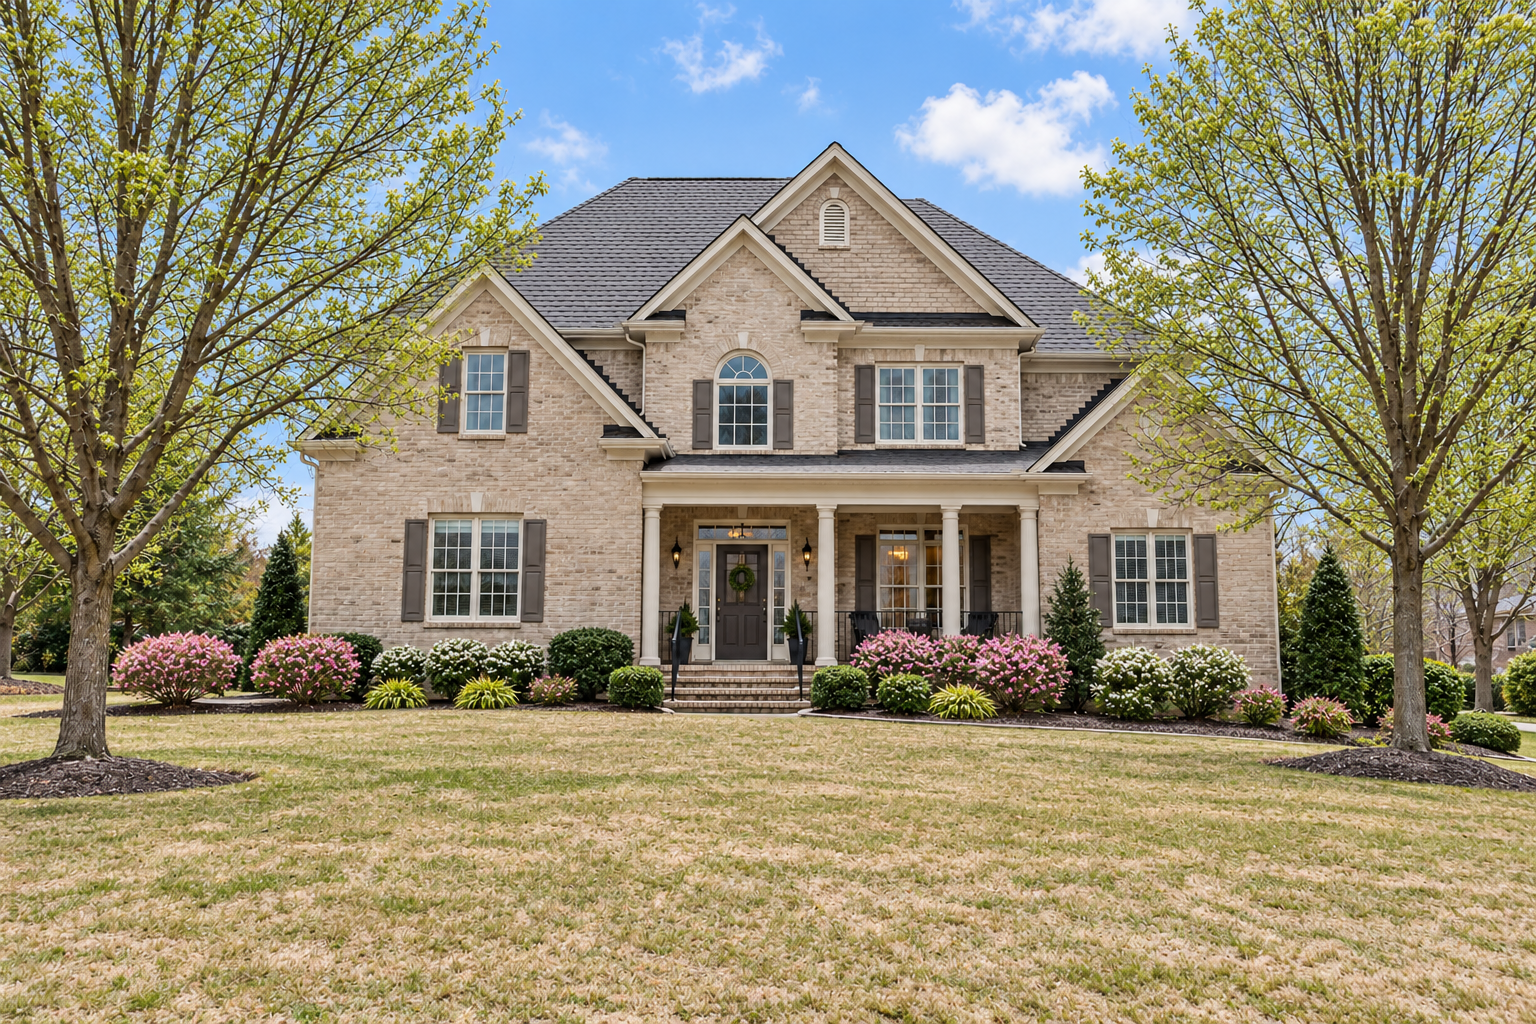 WinterSpring bloom
Winter to spring
Spring bloom
Green trees. Blooming shrubs. Blue sky. Snow cleared.
- Upload an exterior photo or select several exterior photos.
- Choose Spring bloom. Review the credit count, then press Enhance.
- Compare with the original, then download your finished photos.
One enhancement. No room selection. Check house numbers, paths and planting positions; detail hidden beneath heavy snow may need review.
Try Spring bloom ↗Explore the seasonal example ↗Daylight exteriors
Blue-sky exterior
- Open an exterior photo with visible sky in your album.
- Choose Blue-sky exterior. Check the displayed credit cost, then select Enhance photo.
- Compare the result with the original. Check roof edges, branches, wires and the grounds before saving.
Use this for a natural daylight sky. It does not replace views through interior windows.
Consistent virtual staging
Match this room
- Keep both angles of the same room in one named property album. Finish and review the first staged photo.
- Open another angle, or choose Edit several photos for multiple angles. Choose Furnish an empty room or Replace the furniture, and select the room type.
- Under Match this room, choose the finished staged photo. Check its thumbnail, then select Enhance photo.
- Compare both results for matching furniture and layout. Review permanent features and keep the staging disclosure.
Automatic album styling remains the default. If no reference is offered, finish a staged photo in this same named album first. General Photos is not a property album.
Included in Brighten & tidy
Straighter lines. Balanced light.
- Open your photo and choose Brighten & tidy.
- Check the credit cost and select Enhance photo. Window balancing and restrained vertical correction are included; no extra switch is needed.
- Compare window views, vertical edges and the crop with the original before saving.
Window balancing uses detail already present in the source. Missing outside scenery is not invented.
Fine-tune a result
Change one item
- Open a completed furnished, emptied-room or renovation photo and choose Adjust this result.
- Select Change one movable item only. Name the item; optionally drag a region around it in the edited photo or use the position controls.
- Describe the change and submit. Compare the result with the previous version and original before sharing.
The marked region guides the AI. Exact pixel boundaries are not guaranteed. Permanent property features remain protected.
Keep your options
Versions & undo
- Open an edited photo, then Versions & undo.
- Compare the saved results. Select Restore previous result or Use this version.
- The restored result becomes your current edit. The result it replaces is saved so you can return to it.
Restoring uses no edit credit. Up to five earlier results are retained from now on. Wait for editing or personal review to finish before restoring.
Choosing a treatment or reference does not start an edit. Your original is kept. Versions & undo saves your last five replaced results from now on; saved versions count toward storage.
Try these tools in StudioOpening the tutorials…